7 Common Mistakes To Avoid When Digitizing Old Video Tapes
While time stands still in photos, it continues to replay on film. Those special moments are part of your family history. Those memories are sentimental; they mean the entire world to you and your family and deserve to get shared for generations to come. Sometimes, digitalizing videos on your own doesn’t always work; let’s discuss this more by exploring the seven common mistakes to avoid when digitizing old video tapes.
Forgetting To Make the Files Shareable
Those precious moments of first birthday parties or memories of adults watching kids open and play with toys on a special occasion warm the heart. However, during your conversion process, you might forget to make the file shareable—this can happen toward the end of the process when deciding how to store the video files.
Before choosing how to store the video files, ensure the place you send them is accessible to other family members. Keeping them stored in the cloud is better than sending the files via email (assuming it’s a small digital file) because it gives your family better access to the videos to look at and burn them onto DVDs or download them if they want a copy for themselves.
Not Backing Up Your Video Files
An essential step in the video conversion process is backing up the video files. Like backing up your computer for a hard restart, you need to perform a similar operation just in case something goes wrong.
Buy a hard drive for extra storage and use the cloud to your advantage. Many families live in climates where natural disasters are common, thus, are at greater risk of losing physical copies of photos and videos. Make sure to store everything on a hard drive and save duplicates in the cloud in case the physical versions get misplaced, damaged, or lost.
Sending Videos Straight to DVD
While scanning images and saving them to your computer may be simple, the video process is a bit more complicated, especially for older generations. When converting straight to DVD, you might encounter this irritating message: ERROR. Sometimes it’s because the file is too big to fit on the disc or it is damaged.
Whatever the case is, ensure your files are the right type and size before placing them directly on a DVD. It also helps to edit your footage.
PRO TIP: If you have moments where a family member does something funny, consider cutting them out, placing them on another DVD, and calling it your family’s blooper reel. The blooper reel will bring the family together for great laughs, and you’ll have more memories to share.
Not Selecting the Correct File Format
Have you come across a video file that appears as a JPEG? This error is more common than you think, and many people make it without realizing it. If you are looking for a DVD-quality video and don’t want to choose the wrong file accidentally, make it a habit to change your file to MP4 or another appropriate video file like WMV, AVI, MP4 (the current version of MPEG-4), or MOV. An MP4 file delivers the quality you want with small file sizes and low data rates, so it is adjustable to the device you play the video on.
Neglecting To Make Additional Copies
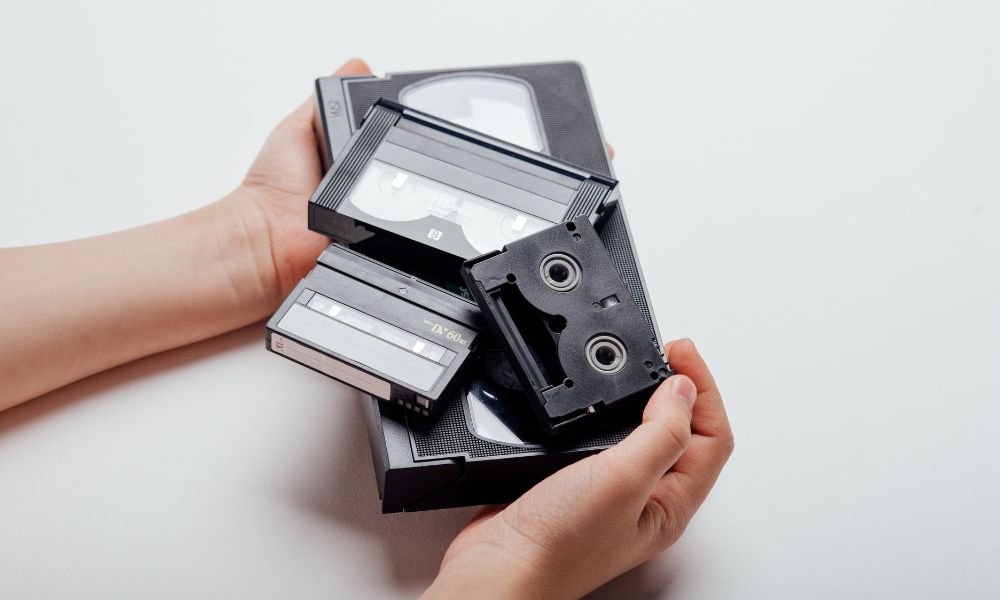
Having additional copies keeps those memories alive. The thing about VHS is that it’s not common anymore, and the current state of your videotape may not work because the film tape itself is fragile, and if messed with enough times, it could break.
While it’s great to have your remastered version of the original tape, how would you show it to everyone? Unfortunately, not every family member has the means to visit and watch videos with you whenever they want, so to help memories of family members live on, make additional copies on DVD or thumb drives to give out. Now every household can enjoy the remastered version.
Not Using the Best Digitizing Tools
After you’ve transferred your old videos over to a video file type, the digitizing tools don’t stop there; there are apps and digital video converter services that can improve the quality and breathe new life into old video tapes. Trying out modern digitizing tools like splicing to help fix common video issues. Splicing is a term used to reconnect parts together; those parts are the continuation of an event in a story, in this case, your home video.
You can use apps or contact a digital service to fix those noticeable “hiccups” in your film. Those “hiccups” are also called “blips,” another word for cut. In a video converters office, workers use tools to reattach the film if it rips; once the film gets put back together, the film conversion continues.
Not Using a Conversion Company
One thing many may not understand the value of, is video conversion companies. These companies exist to convert videos into digital files and to help keep family memories alive. It’s essential to know where your family comes from, and you should keep a record of your family’s memories to share with future generations.
A video digital conversion company is an excellent service to look into; it’s a service that encapsulates a family’s most cherished moments and places them in an accessible time capsule for families to treasure always. Keep your family’s memory alive by using a digital transfer company to transition video cassette tapes to digital files for the whole family to enjoy.
Learning about the mistakes to avoid when converting old video tapes into digital files is essential for every family. Take care of your family’s memories by taking full advantage of us—DiJiFi is a dedicated video-to-digital service striving to safeguard every family’s most treasured recollections. We transfer all video tape formats. We can’t wait to help share the memory of past loved ones and capture a moment of forever for your family.


